How to Install Composite Deck Tiles
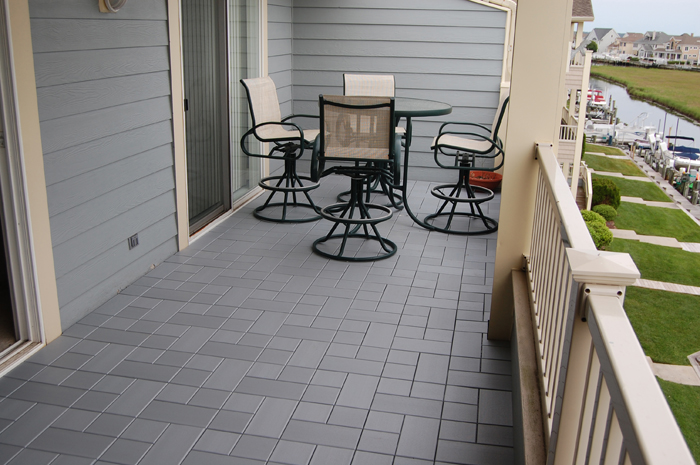
Composite Deck Tiles have become a popular choice for many homeowners seeking to improve the aesthetics of their balcony, patio or roof deck surface.
Weatherstone Composite Deck Tiles are an outstanding low-cost maintenance product. Outlasting the competitors due to the quality of materials used, a mix of high-density polyethylene and a mineral foam as a binder. This closed molecular formula is made from non –organic materials. Providing zero nutrients for mold, mildew, and insect infestation to penetrate. Other composites quite often use wood flour as a binder which is bio-degradable and is susceptible to mildew and mold.
Furthermore, the ease of installation has also made our Deck Tiles a popular choice for contractors and DIYers alike. However, there are certain nuances when installing that should be understood about our product.
Preparation
Begin by gathering all the tools needed for a seamless installation.
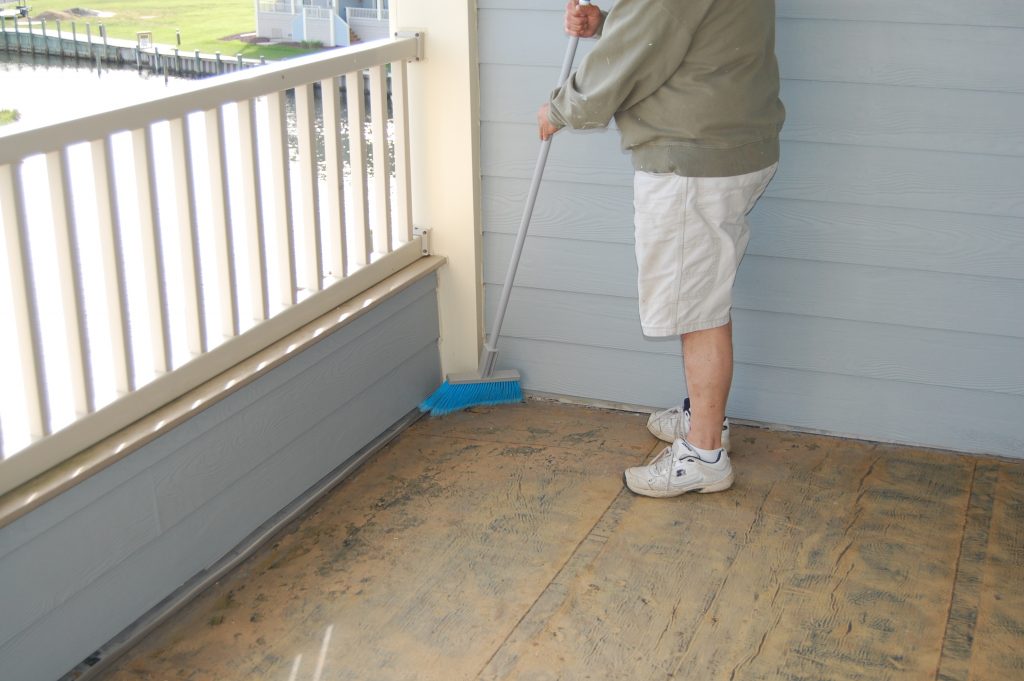
Once all the tools are gathered begin by sweeping the area to remove any debris, leaves, or other dirt that may be on the subsurface.
Laying Protection Mat * Optional
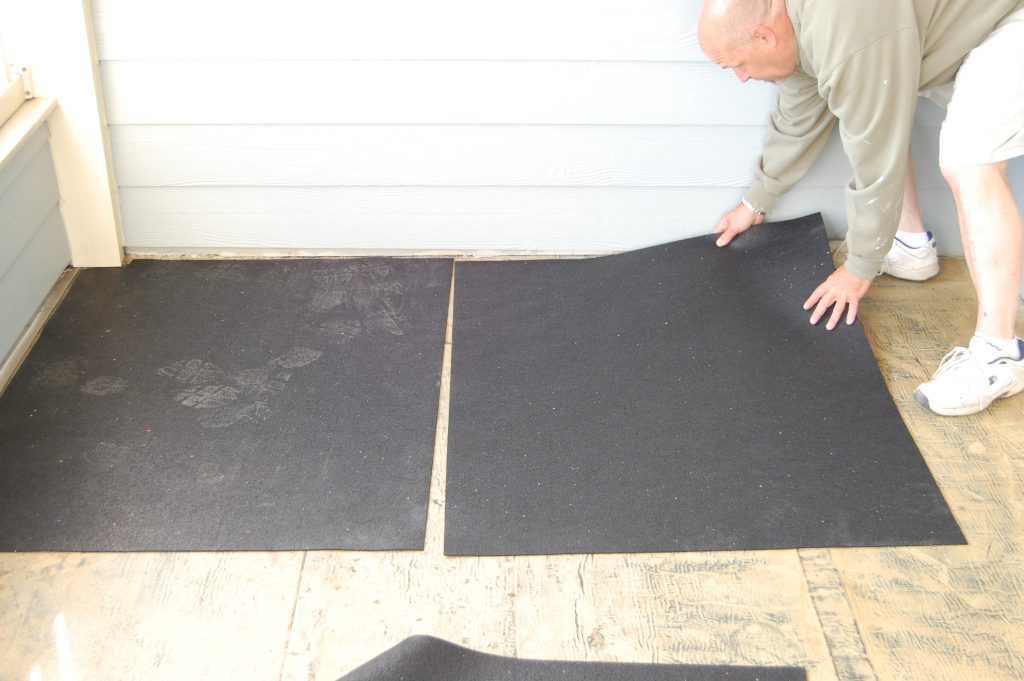
Protection Mat, also known as crumb rubber, may be needed if installing Weatherstone Composite Deck Tiles on a rubber roofing membrane or stone dust.
Laying out the Tiles
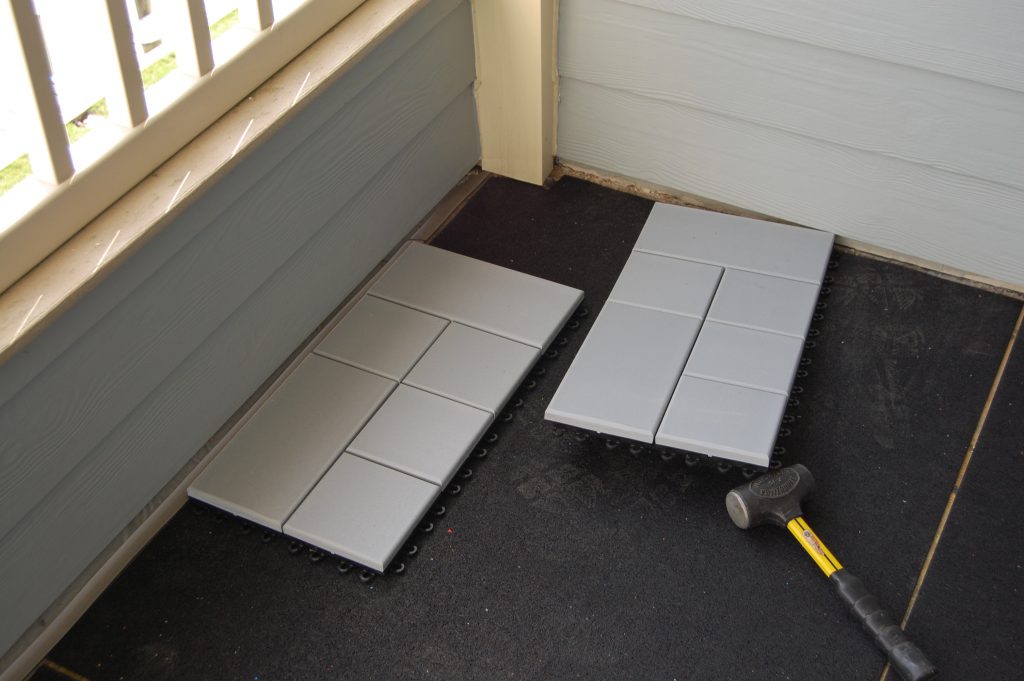
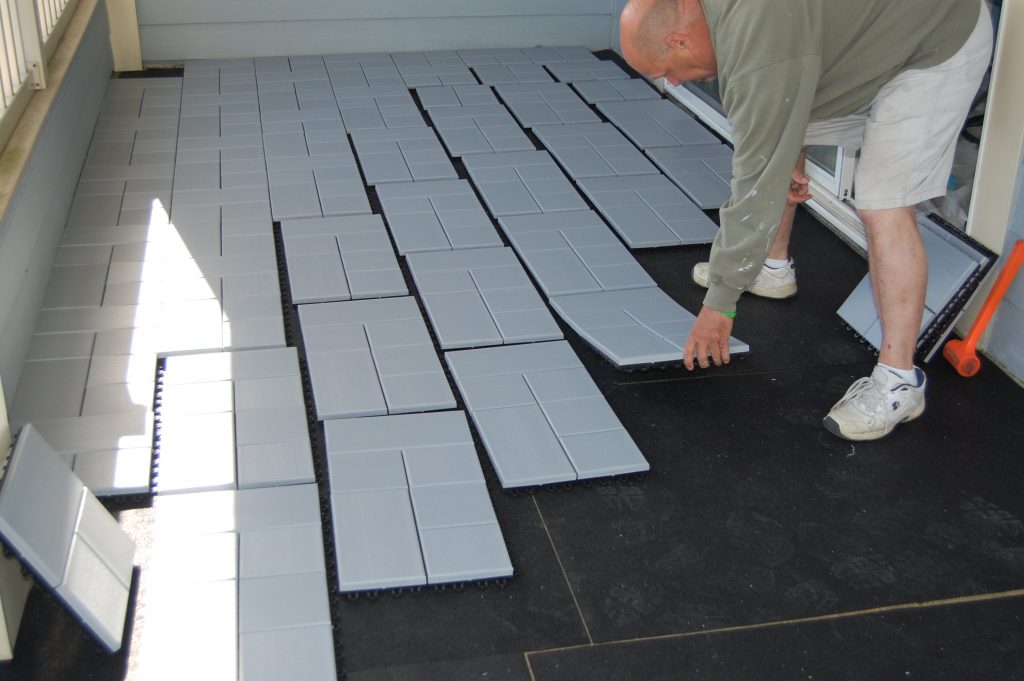
We suggest laying full tiles, in most cases, on the outside edge of the deck/patio/balcony, etc. If you have an obstruction just leave that tile out for now. The loops of the tile should aim towards the building. Please see the explanation below *
Be sure to leave a 3/8” gap when installing during expansion around the outer perimeter of tiles to allow for expansion and contraction. This is very important, especially if you live in a changing climate. Installing during a colder weather it may be necessary to leave more than a 3/8″ gap.
Continue laying out the deck tiles in a pyramid-like fashion. It is installed in this manner to keep the deck square. *The tiles will be pre-assembled with two tiles connected. (1) A Tile and (1) B Tile. When looking at the tiles, always have the loops to the right and to the bottom to identify the difference of the A and B tile. When starting the second row it will be necessary to disassemble the A Tile from the B Tile when a slate or basket weave pattern is selected. This will be necessary to maintain a consistent pattern.
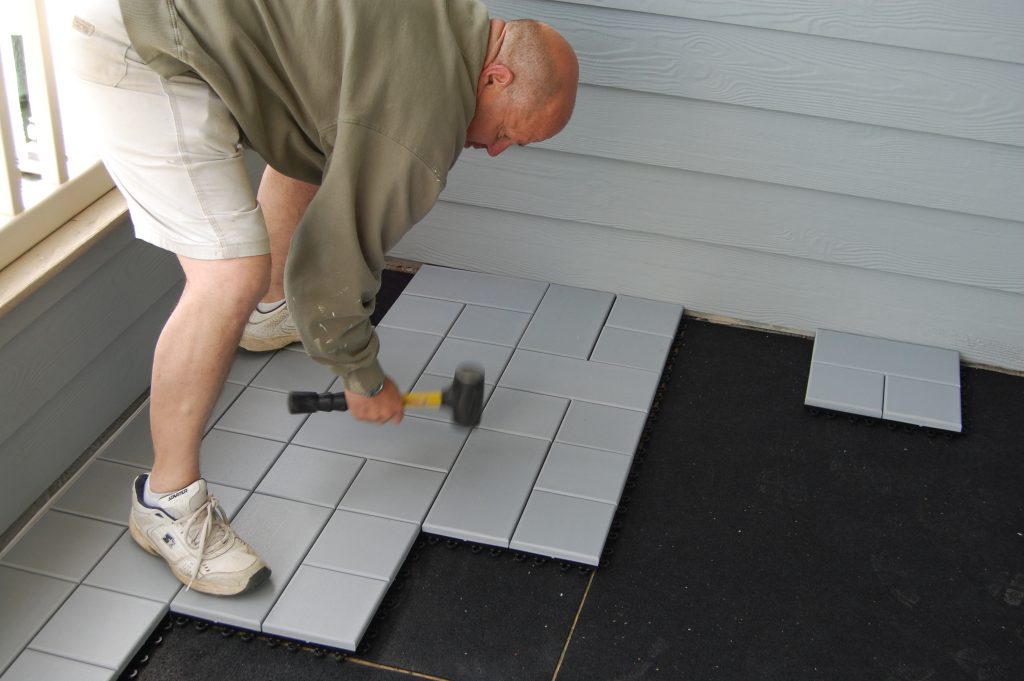
Pro Tip: Use a dead blow mallet to snap deck tiles for an easier installation
After all tiles have been laid out excluding tiles needing to be cut, it is time to begin the cutting process.
Cutting Tiles
To properly cut Weatherstone Composite Deck Tiles it is recommended to use a table saw. After all full tiles are installed make the necessary cuts around obstructions. The last row of tiles toward the building or home may need to be cut to fit.
Remember to leave at least a 3/8” gap up against the building and all obstructions for expansion and contraction depending on the climate you are installing in.
After each cut of the tile use a hand router to create a rounded edge or bevel to match the factory edge. You may need a jigsaw when cutting around circular posts etc.
If scratches occur to the composite material they can easily be removed, see just how simple it is to remove scratches from Weatherstone Composite Deck Tiles.

